> ## Documentation Index
> Fetch the complete documentation index at: https://fema-docs.estou.ai/llms.txt
> Use this file to discover all available pages before exploring further.
# Sender Address
> Define the sender details that appear on all shipping labels.
## Where to configure
In Shopify Admin, open the FEMA app and click **Sender address** in the sidebar.
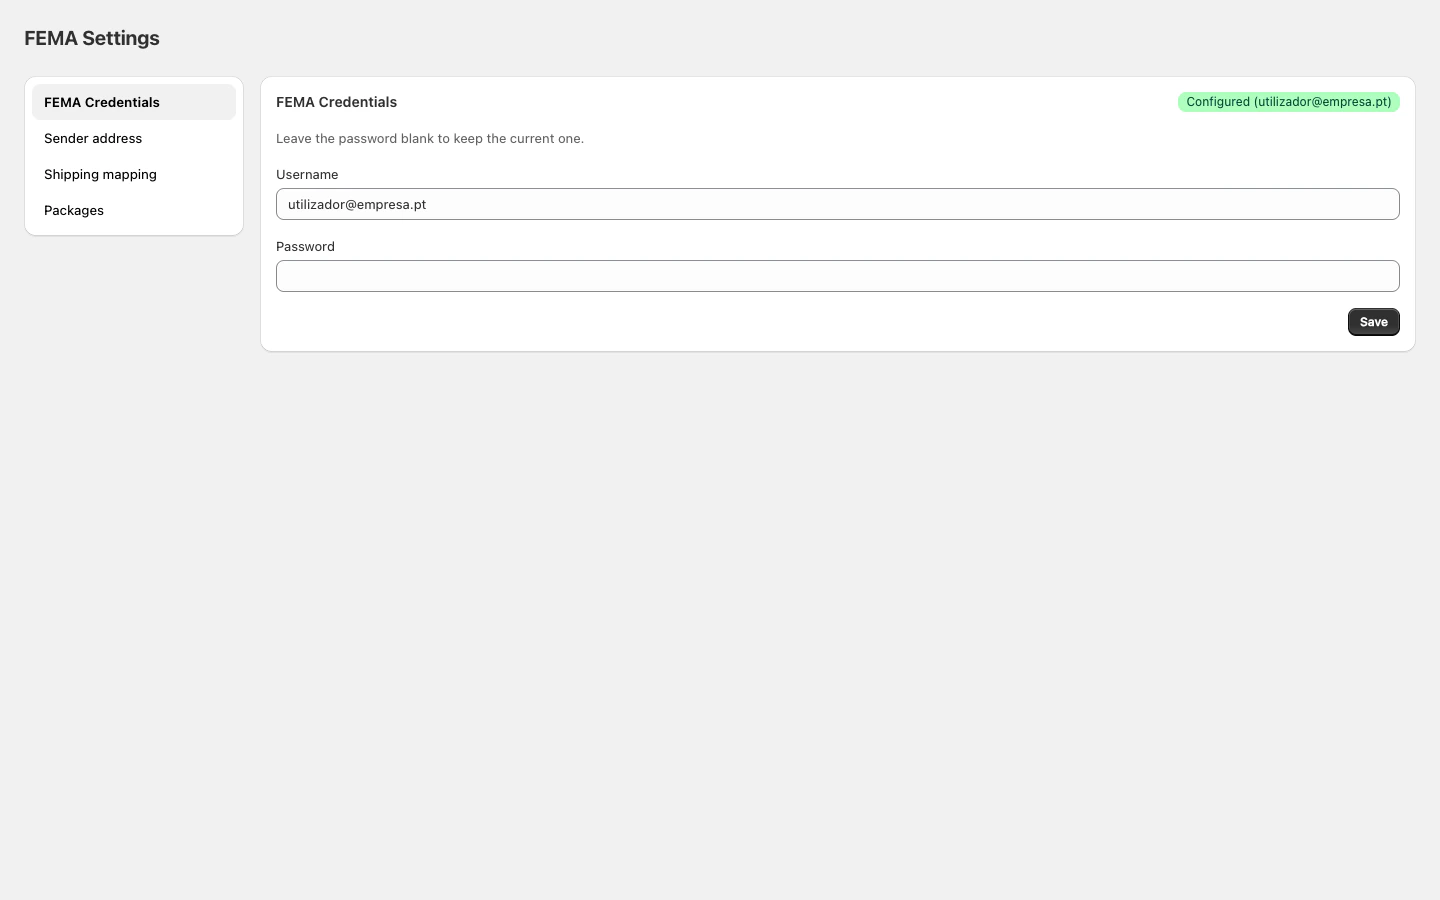 ## Fields
| Field | Required | Description |
| --------------------- | -------- | ------------------------------------------ |
| **Name / Company** | Yes | Name or company shown as the sender |
| **Address** | Yes | First line of the address |
| **Address (line 2)** | No | Address complement (floor, building, etc.) |
| **City** | No | Sender's city |
| **Postal code** | No | Postal code |
| **Country of origin** | No | Shipping country (default: Portugal) |
| **Phone** | No | Contact phone number |
| **Email** | No | Contact email |
## How to configure
1. Fill in at least the **Name / Company** and **Address**.
2. Complete the remaining fields to ensure labels are fully populated.
3. Click **Save**.
Always fill in phone and email. Some FEMA services require sender contact details for international shipments.
## Fields
| Field | Required | Description |
| --------------------- | -------- | ------------------------------------------ |
| **Name / Company** | Yes | Name or company shown as the sender |
| **Address** | Yes | First line of the address |
| **Address (line 2)** | No | Address complement (floor, building, etc.) |
| **City** | No | Sender's city |
| **Postal code** | No | Postal code |
| **Country of origin** | No | Shipping country (default: Portugal) |
| **Phone** | No | Contact phone number |
| **Email** | No | Contact email |
## How to configure
1. Fill in at least the **Name / Company** and **Address**.
2. Complete the remaining fields to ensure labels are fully populated.
3. Click **Save**.
Always fill in phone and email. Some FEMA services require sender contact details for international shipments.