
Step 1: FEMA credentials
Go to Apps > FEMA > Settings and open the FEMA Credentials tab.- Enter your FEMA username and password.
- Click Save.
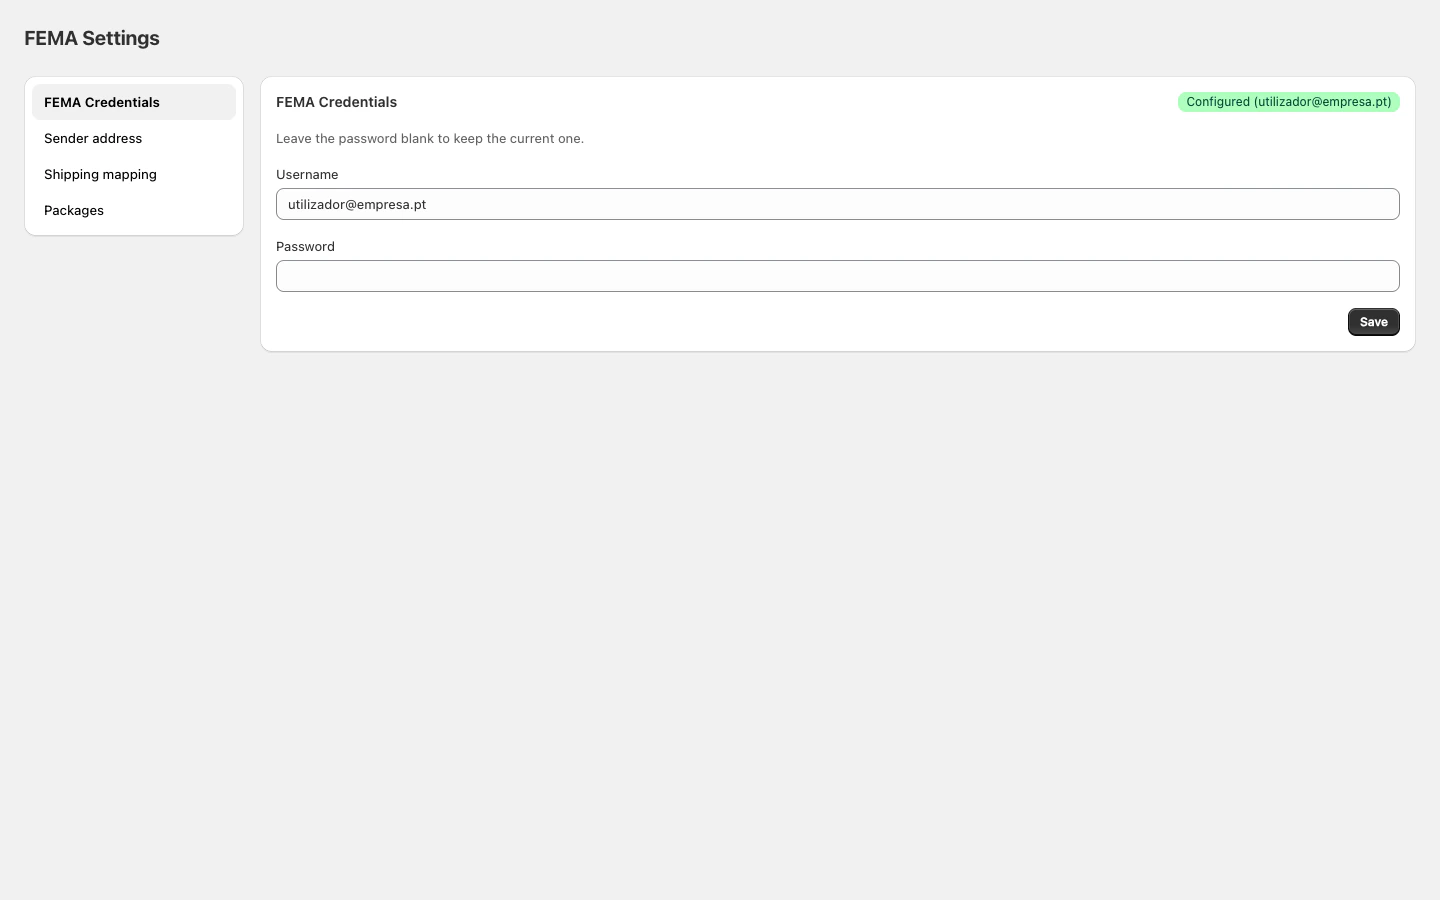
If you don’t have FEMA credentials yet, contact FEMA at fema.pt to get access.
Step 2: Sender address
Open the Sender address tab.- Fill in the name/company, address, city, postal code, and contact details.
- Click Save.
Step 3: Shipping mapping
Open the Shipping mapping tab. Map each Shopify shipping method to the corresponding FEMA service. The app uses this mapping to determine which type of shipment to create for each order.
Step 4: Packages
Open the Packages tab. Create templates for the boxes you regularly use. When creating a shipment, simply select the package instead of filling in dimensions and weight manually.
You’re all set. You can now create FEMA shipments directly from any order in Shopify Admin.
Create shipment
Create a shipment from an individual order.
Bulk create
Process multiple orders at once.
Print labels
Merge multiple labels into a single PDF.
Shipment statuses
Reference for all FEMA tracking statuses.